If, however, you're still on a baking kick, I highly recommend giving today's recipe a try.
If you've been reading my blog for any amount of time, you've probably noticed I don't post a lot of dessert recipes. It's not that I don't like sweets (trust me, I like them way too much!). I'm just not much of a baker.
In fact, one of my 2015 New Year's resolutions was to bake more often this year. I really want to get more comfortable with baking, and the only way to do that is to force myself to do it on at least a semi-regular basis.
I'll be sharing how I did overall on my goals for the year in another post, but I'll tell you right now that I failed that one miserably.

I found this recipe after spending a ridiculously long time on Pinterest. My mother-in-law and her sisters host a cookie exchange every December, and every December I find myself in a panic, desperately searching for the perfect delicious cookie/dessert bar/fudge recipe.
Everyone in Eric's family knows I love cooking but hate baking, but I still feel pressured to bring something awesome. Unfortunately, a lot of really awesome baked goods seem to require a little more skill than I have.
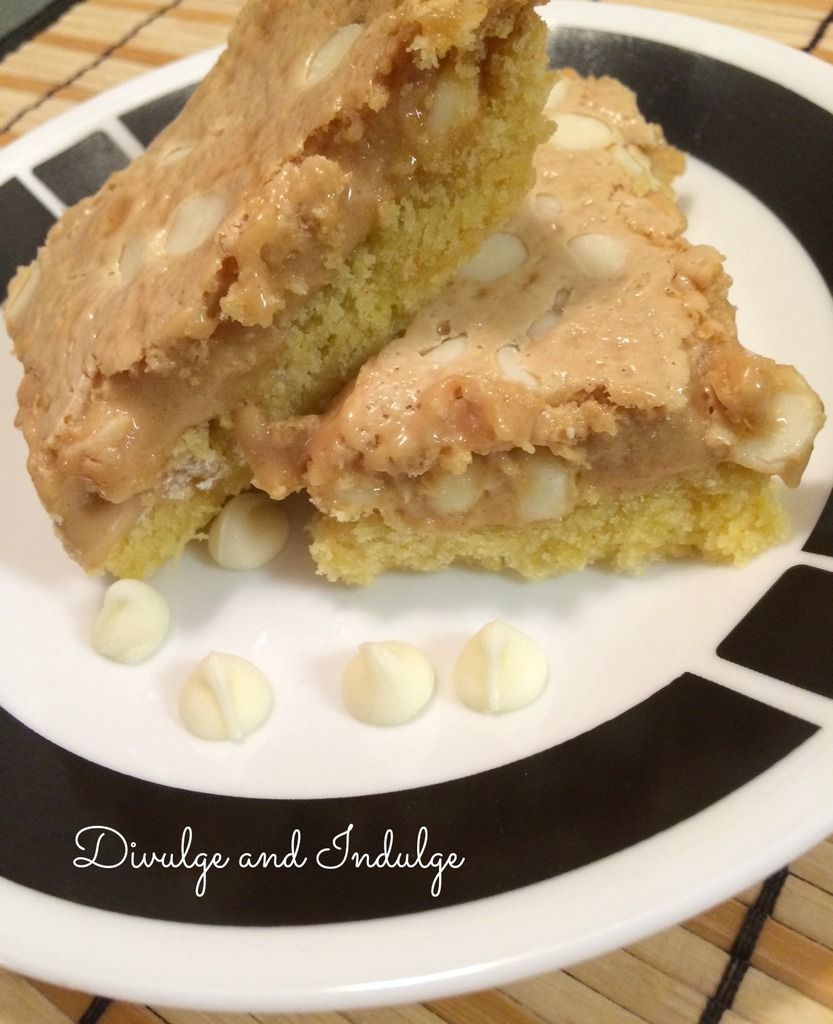
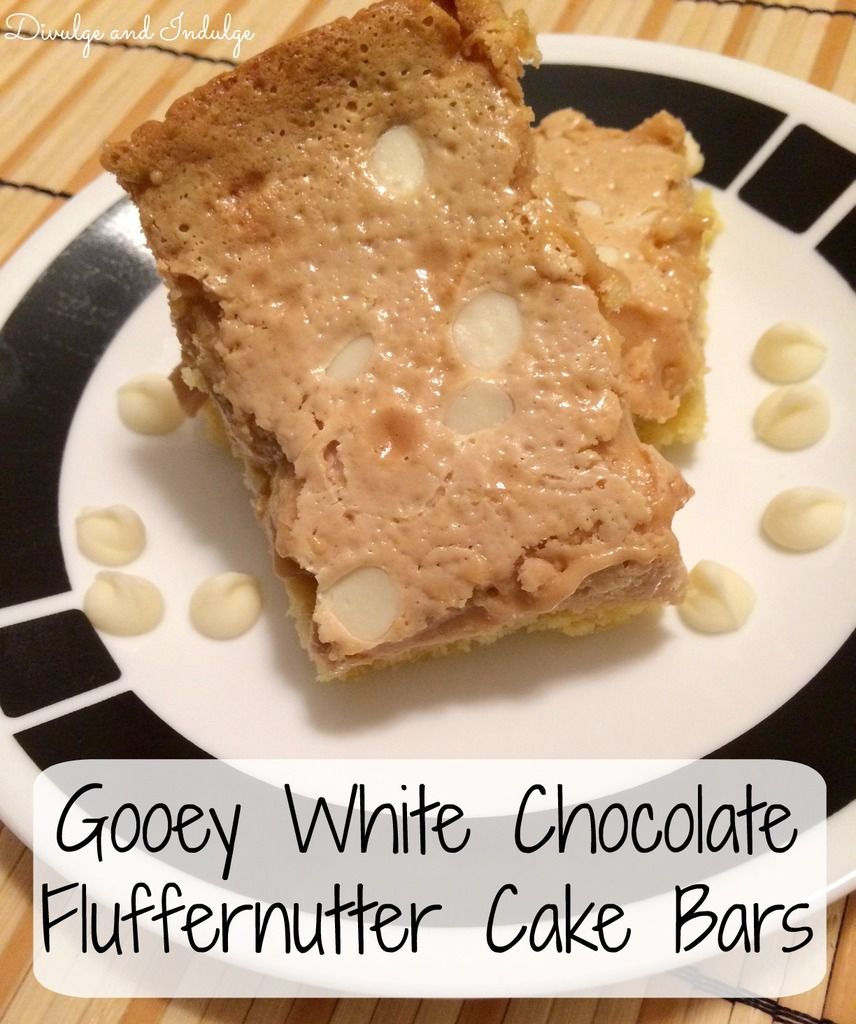
So when I found these Gooey White Chocolate Fluffernutter Cake Bars, I was thrilled. They didn't require a ton of ingredients, the instructions were simple, and I knew no one else would be bringing anything like this. Perfect!
In hindsight, I will say that these probably aren't the best thing to bring to a cookie exchange. While they taste amazing, they are definitely sticky and gooey ... So they're not exactly the easiest thing to pick out of a container and place into one of your own.
These are a better option if you're planning to make a dessert for a group at your home (I got 20 bars out of this recipe) or if you're taking a dessert to a sit down meal elsewhere. They're so gooey that I actually prefer to eat them with a fork. So just keep this in mind if you think you want to try these bars!

Gooey White Chocolate Fluffernutter Cake Bars
A recipe from The Domestic Rebel.Ingredient List:
- 1 box yellow cake mix
- 1 egg
- 1/2 cup vegetable oil
- 1 7 oz. jar marshmallow creme
- 2/3 cup creamy peanut butter
- 1 14 oz. can sweetened condensed milk
- 1 12 oz. package white chocolate chips
Instructions:
1. Preheat the oven to 350 degrees.
2. Line a 13x9 inch pan with aluminum foil, extending the foil over the edges of the pan. Spray the foil with cooking spray and set aside.
3. Combine the cake mix, egg, and oil to form a soft dough. I used my KitchenAid stand mixer for this (mostly because I rarely use it, and I liked having a reason to bust it out), but you could easily mix this together in a large bowl by hand.
4. Press the dough evenly into the pan and set aside.
5. Mix the marshmallow creme, peanut butter, and sweetened condensed milk in a medium bowl until thoroughly combined. (This will be very thick.) Pour the mixture over the dough in the pan, spreading it as evenly as possible.
6. Pour the white chocolate chips evenly across the top of the marshmallow/peanut butter mixture. (I didn't use the entire bag, but it was close.)
7. Bake the bars for about 23-25 minutes, or until the edges are set and the top begins to turn golden brown. I baked mine for the full 25 minutes, but I'd recommend starting low and adding time. You definitely don't want to bake them too long because you'll want the interior to remain gooey.
8. Allow the bars to cool completely before cutting into squares. I'd suggest allowing them to cool to room temperature, then placing them in the fridge for a few hours before cutting. I made a couple of batches, but I only put the second batch in the fridge before cutting them. The second batch turned out much better ... The first batch tasted good, but even after allowing them to sit out at room temperature for several hours, they were still extremely gooey and basically fell apart when I tried to cut them. I managed to salvage a few bars from the first batch, but we mostly had to keep these for ourselves since they were such a hot mess. Don't make this mistake!

who would answer yes? that's crazy talk. give me all the holiday treats!
ReplyDelete